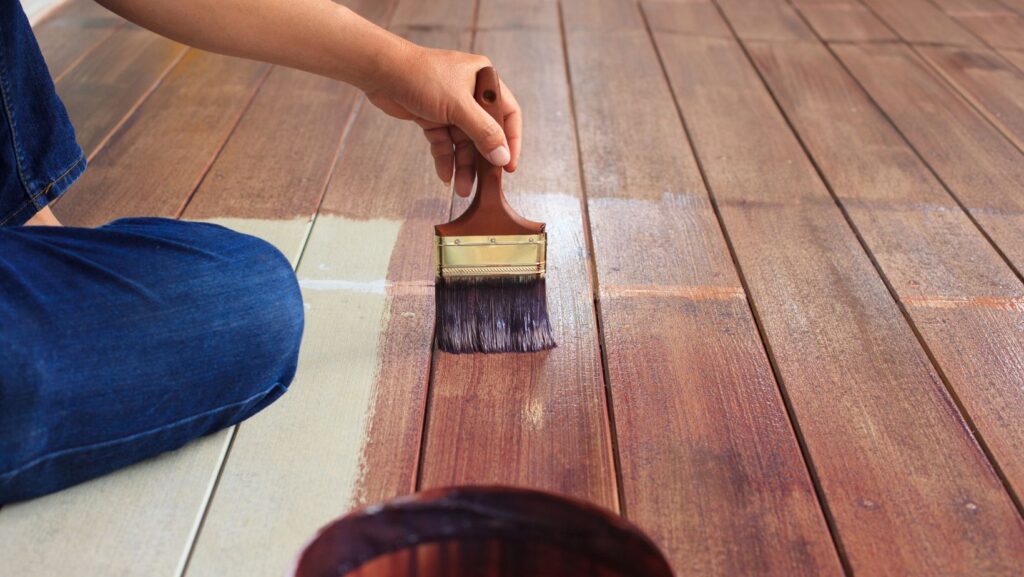
There’s something incredibly satisfying about the idea of transforming your floors with your own two hands. A few coats of paint or varnish, a bit of sanding, and you’ve suddenly got a brand-new look — all without the expense of hiring professionals. But for many enthusiastic DIYers, that glossy new finish doesn’t last long.
What starts off looking fresh and flawless often begins to chip, peel, or dull within just a few months. And while it’s tempting to blame bad luck or poor-quality materials, the real reasons most DIY floor makeovers fail are far more practical — and entirely avoidable.
The Illusion of Instant Results
Part of the problem lies in the modern DIY culture itself. Social media is full of “before and after” videos where someone transforms their floors in a single weekend, using little more than a roller, a tin of paint, and a burst of motivation. The results look amazing — at least on camera.
What those quick tutorials often skip over is the preparation work that professionals spend most of their time on. The cleaning, sanding, priming, and curing stages are what make a floor durable, not just attractive. When these steps are rushed or skipped, even the best products can’t perform the way they’re meant to.
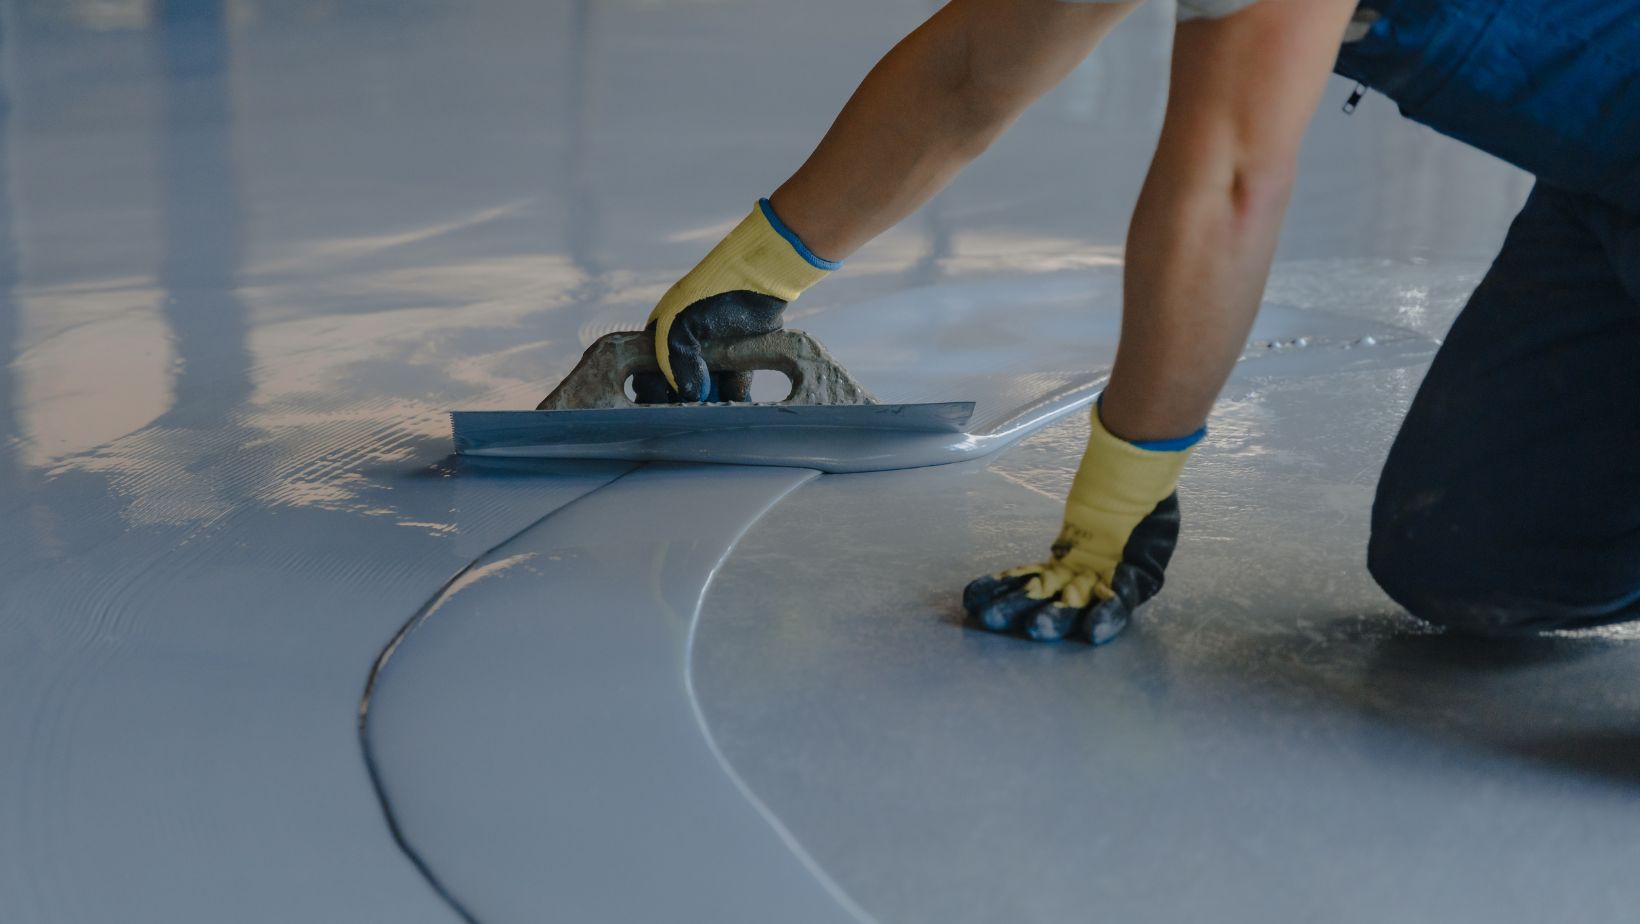
Take polyurethane floor paints, for example. They’re incredibly tough, versatile, and designed to withstand heavy traffic — but only if applied on properly prepared surfaces under the right conditions. If the floor is still dusty, oily, or damp, that perfect-looking finish won’t stick for long.
The truth is, floor makeovers are less about “painting floors” and more about managing chemistry and surface adhesion. That’s not glamorous — but it’s what separates a weekend project from a lasting renovation.
Skipping the Prep (The Fastest Way to Fail)
The biggest culprit in failing DIY floors is poor surface preparation. It’s easy to underestimate how much grime, wax, or residue builds up over time, even on surfaces that appear clean.

If you don’t remove every trace of oil, polish, or previous coating, your new finish won’t bond properly. The result? Peeling and flaking within weeks. And once that starts, there’s no easy fix — the only option is to strip it all back and start over.
The same goes for sanding. Lightly scuffing a surface before painting or sealing creates a key for the new layer to grip onto. Too many people either skip this step entirely or do it unevenly, leaving slick patches where the coating struggles to adhere.
Even concrete floors need special attention. They might look solid, but unsealed concrete is porous and full of dust. Without proper etching or priming, paint can bubble or lift off as moisture tries to escape from below.
Using the Wrong Product for the Job
Not all floor paints, stains, or sealers are created equal. Choosing the wrong product for your surface is another reason so many DIY makeovers don’t last.
Wood floors expand and contract with humidity, meaning a rigid coating can crack over time. Concrete, on the other hand, can hold moisture that pushes coatings from below. Each material needs products designed specifically for its properties.
For instance, latex or acrylic paint might look great on day one, but it’s rarely durable enough for heavy foot traffic. Epoxy or polyurethane finishes are far better for longevity — but they also require more precise mixing, application, and curing conditions.
Another common mistake is using indoor products outdoors (or vice versa). UV exposure, humidity, and temperature changes can quickly destroy coatings not designed to handle them.
Ignoring Drying and Curing Times
Patience is the secret ingredient to any successful floor project — and the one most people ignore.
Paints and sealers have two timeframes: drying and curing. Drying happens when the surface feels touchable, while curing is the process of the coating hardening all the way through. Depending on humidity, temperature, and product type, full curing can take anywhere from a few days to a few weeks.
Many DIYers assume that once the floor feels dry, it’s ready for furniture and foot traffic. But walking or dragging items across a surface too soon can cause invisible dents, scratches, or scuffs that only appear later.
Temperature also plays a huge role. If it’s too cold, coatings won’t cure properly; too hot, and they might dry unevenly or form bubbles. Professionals account for this by checking product data sheets and environmental conditions — small details that make a huge difference in the finish.
Neglecting the Edges and Corners
Floors don’t fail evenly. In most DIY makeovers, the first signs of wear show up around high-traffic areas, edges, and corners. These are the spots that often get rushed during application — the roller doesn’t quite reach, or the painter tries to stretch the last bit of coating a little too far.
That thin coverage might look fine at first, but it’s where dirt, moisture, and abrasion will attack first. Over time, the coating starts lifting from those edges, and the damage creeps inward.
The fix? Use a brush to cut in carefully around borders before rolling out the main sections, and apply at least two full coats. Paying extra attention to those “unseen” areas extends the life of your finish dramatically.
Forgetting About Ongoing Maintenance
Even the toughest floors need maintenance to stay in good shape. A common DIY mistake is assuming that once the paint or sealant is dry, the job is done forever.
In reality, most floor finishes benefit from regular cleaning with gentle, pH-neutral products. Harsh chemicals and abrasive scrubbing can strip away protective layers. Heavy furniture should be fitted with felt pads, and rugs or mats should be rotated occasionally to prevent uneven fading or wear.
Periodic reapplication — especially of clear topcoats — can keep floors looking fresh and protected. It’s a small investment compared to having to redo the entire floor every year.
Underestimating Surface Movement
Floors are dynamic, not static. Wood expands and contracts, tiles shift slightly with grout wear, and concrete can develop hairline cracks as it settles. If your coating doesn’t have a bit of flexibility, it will inevitably crack along with the surface beneath it.
Professionals often use primers or flexible sealants to bridge these tiny movements, preventing visible cracking. Most DIYers skip these steps because they seem unnecessary — until they notice spider-web cracks spreading across their “new” floor after just a few months.
The Hidden Impact of Moisture
Moisture is the silent killer of floor finishes. Whether it’s humidity in the air, damp concrete, or trapped water under paint, moisture can cause coatings to bubble, blister, or peel.
In basements, laundries, or bathrooms, vapour rising through concrete can force paint to lift from below. The solution is proper sealing — using moisture barriers or vapour-resistant primers before applying paint.
Even simple habits like mopping too wet or failing to wipe up spills can contribute to premature damage. Keeping floors dry, especially during the curing stage, makes a world of difference.
When “Good Enough” Isn’t Enough
DIY floor makeovers often fail because of one simple mindset: the “that’ll do” attitude. When you’re exhausted at the end of a long weekend, it’s tempting to rush through the final coat or skip that last bit of sanding. Unfortunately, floors are unforgiving — they show every shortcut you take.
What feels like saving time in the moment often costs more in the long run. Each missed step reduces the coating’s bond strength, durability, and overall look.
Professionals take their time not because they enjoy dragging projects out, but because they know that every layer, from preparation to finish, matters.
How to Make Your Floors Last
The good news is that lasting results are possible for DIYers — it just takes a little extra patience and planning. Start by understanding your surface and choosing the right product for it. Follow the manufacturer’s instructions to the letter, especially regarding preparation and curing times.
Invest in the right tools: a quality roller, painter’s tape, primer, and good ventilation go a long way. And don’t rush — give each coat plenty of time to dry before moving on.
Most importantly, treat your floor makeover like an investment, not a quick fix. The time you spend doing it properly will reward you with years of durability instead of just a few months of shine.
When done right, a DIY floor transformation can be one of the most satisfying home projects there is — not just for how it looks on day one, but for how it stands the test of time.